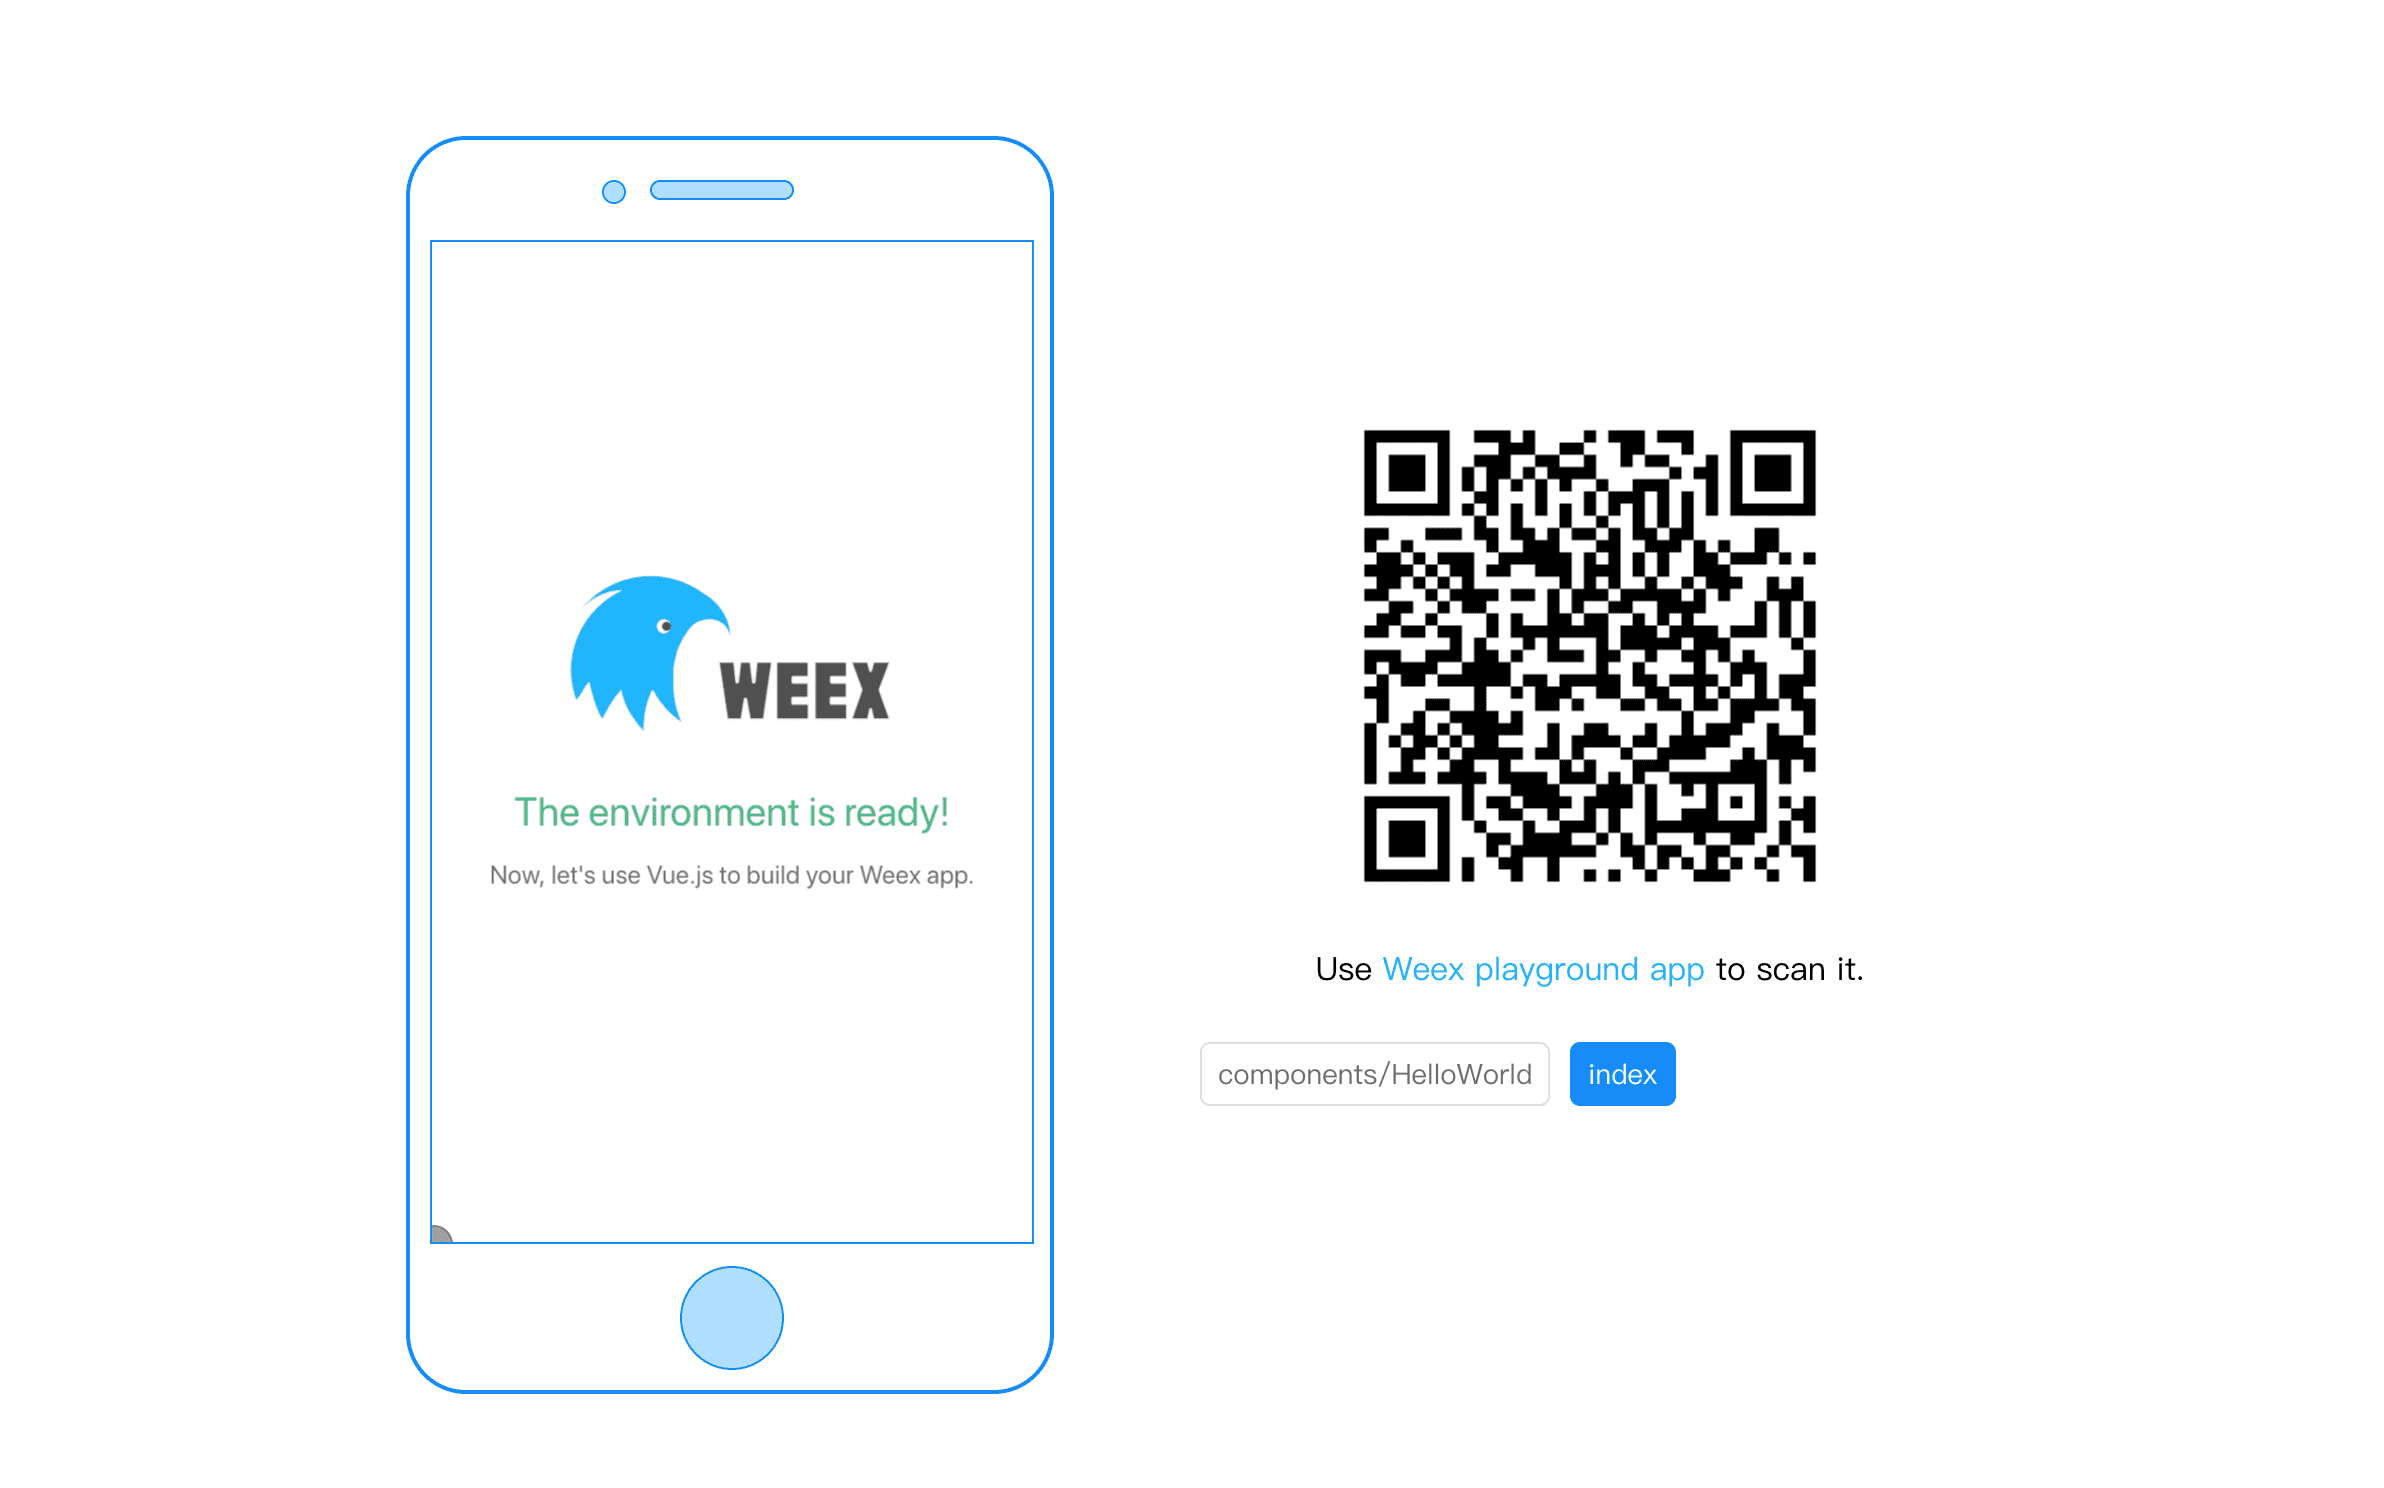
# Setup Develop Environment
Using Online Editor is a good choice, but if you want to develop locally on your own machine, you will need to set up your develop environment.
# Install
You will need Node.js and the Weex CLI.
There are many ways to install Node.js. The easiest way is to download the executable directly from [Node.js official website] (https://nodejs.org/en/).
For more installation methods, please refer to [Node.js official information] (https://nodejs.org/en/download/).
Run the following commands in a terminal:
# OSX
$ sudo chmod -R 777 /usr/local/lib/node_modules/
$ npm i -g weex-toolkit // Do not use sudo
$ weex -v
# Windows
$ npm i -g weex-toolkit
$ weex -v
After the installation is complete, you can use the weex help command to verify that the installation is successful. It will display all the commands supported by weex. You can also check your local development environment with the weex doctor command.
# Generate a new Weex project
Use the weex-toolkit, you can generate a weex project just type the command on your terminal:
$ weex create awesome-project
After executing the command, a standard project structure has been generated for us in the awesome-project directory.
# Develop
Enter the path of the project. If you choose to install the project automatically when you create the project, you only need to run npm start directly after entering the project. You can run the project completely. Otherwise, you need to run npm in the project beforehand. Install requires dependencies on the installation project

For more technical details, please continue to read the next section.


 Excellent doc